


Welcome. In this episode, we are going to add user authentication and authorization features to our app. These two concepts are often confused or used interchangeably. In fact, authentication means "identifying who the user is" and authorization means "determining what the user is and isn't allowed to do." For now, our to-do lists are accessible for everyone. We want to restrict access for the sake of security, so anybody can't add a new task to our list and can't change or delete existing ones. To achieve that, we are going to make some back-end configurations, and lucky us, Apollo-server has some build-in helpers to help us while we make user authentication and authorization. All right, let's rock!
Schema Configuration For User
We are going to need to make some configurations in our GraphQL schema to handle user operations. To do that, we will create a type, an input, a query, and a mutation definition alongside a query function and a mutation resolver function. So, open the schmea/typeDefs/index.js file and write this line above the Query type definition
type User {
_id: ID
username: String
password: String
}

input UserInput {

username: String
password: String
}
This type of definition will be used for user operations. Now, let's add a query definition. Let's write the below line into the Query type: getUsers: [User] And add the below lines to the Mutation: addUser(user: UserInput): User Let's open the resolvers/index.js file and write this line in the Query object: getUsers: async (parent, args, context) => await context.models.Todo.queries.getUsers(), Then add this line to the Mutation object: addUser: async (parent, args, context) => await context.models.Todo.mutations.addUser( JSON.parse(JSON.stringify(args.user)) ), Now, open up the models/index.js file. First import the User model which we will create next section:
import User from "../../db/models/UserModel";
and write these lines in the queries object:
getUsers: () =>
  new Promise(
    async (resolve, reject) =>
      await User.find({}, (err, users) =>
        err
          ? reject(err)
          : resolve(users)
      )
  ),
And write these lines to the mutation object:
addUser: (user) =>
  new Promise((resolve, reject) =>
    new User(user).save((err, user) => (err ? reject(err) : resolve(user)))
  ),
Well, that's it. Our schema is ready to handle basic user operations. Now, let's create a User model in our database.
Database Configurations For User
To make sense of our GraphQL configurations, we have to create a model to which our resolvers and type definitions point to. To achieve those, create a file named UserModel.js under the db/models directory and write the below lines down into it:
import mongoose from "mongoose";

const userSchema = new mongoose.Schema({
  username: { type: String, unique: true },
  password: String,
},
{ timestamps: true }
);

const User = mongoose.model("User", userSchema);

export default User;
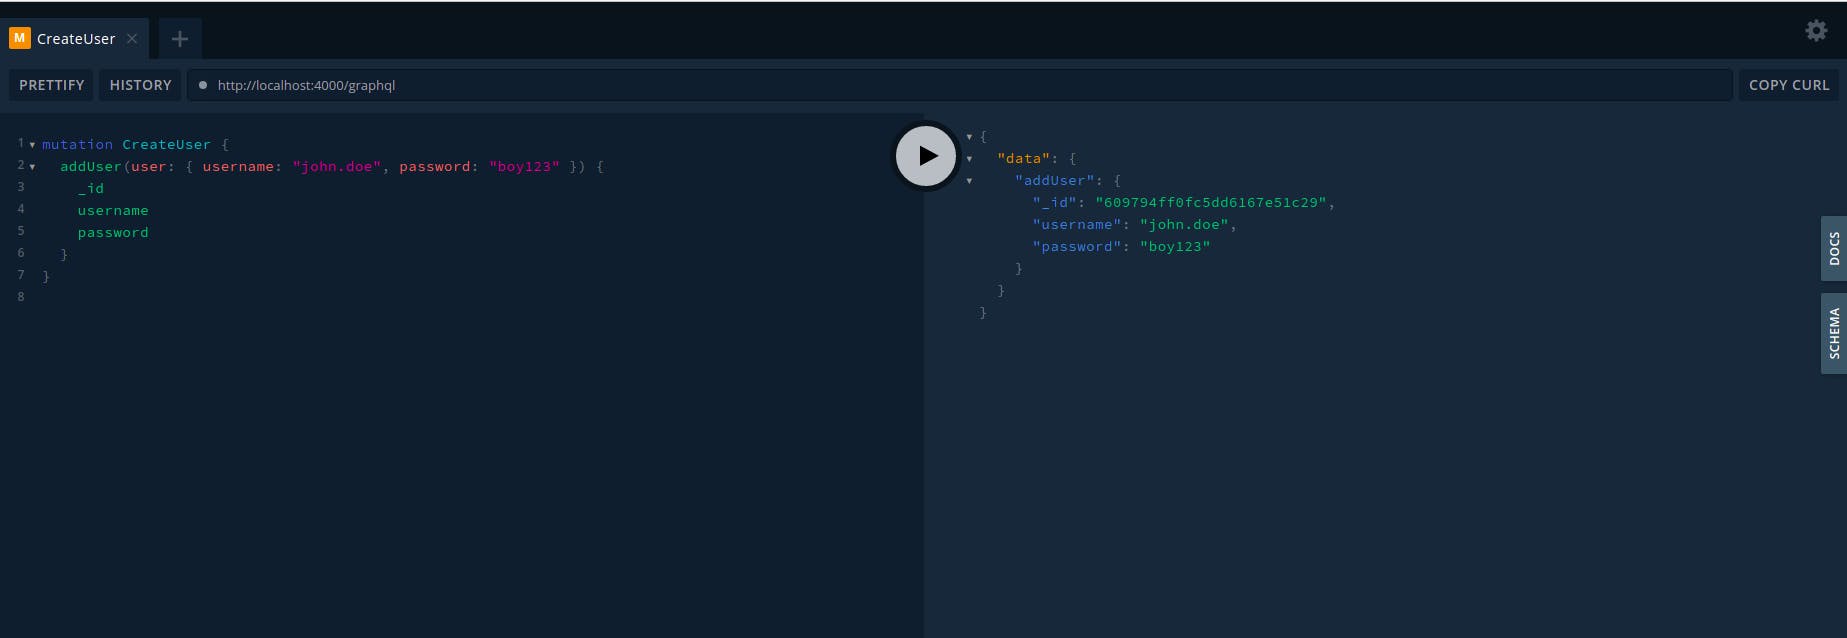
Now, it is time to test. Open localhost:4000/graphql and add a user like this:
Let's query our first user. Make it like this:
After we ensured that everything is okay, we can sign the todo items with the creator users' id.
Sign Todo Item
To add user id to todo items, open up the schema/typeDefs and add change type and input definition of the Todo like that:
type Todo {
_id: ID
title: String
mission: String
createdAt: String
updatedAt: String
isDone: Boolean
owner_id: ID
}

input TodoInput {
title: String
mission: String
isDone: Boolean
owner_id: ID!
}
And open db/models/TodoModel.js and change the schema like that:
const todoSchema = new mongoose.Schema(
{
title: String,
mission: String,
isDone: Boolean,
owner_id: { type: mongoose.SchemaTypes.ObjectId, required: true },
},
{ timestamps: true }
);
That's it! We add required configurations to sign to-do items when they are added. Let's test it. Copy our first users' id and run this mutation:
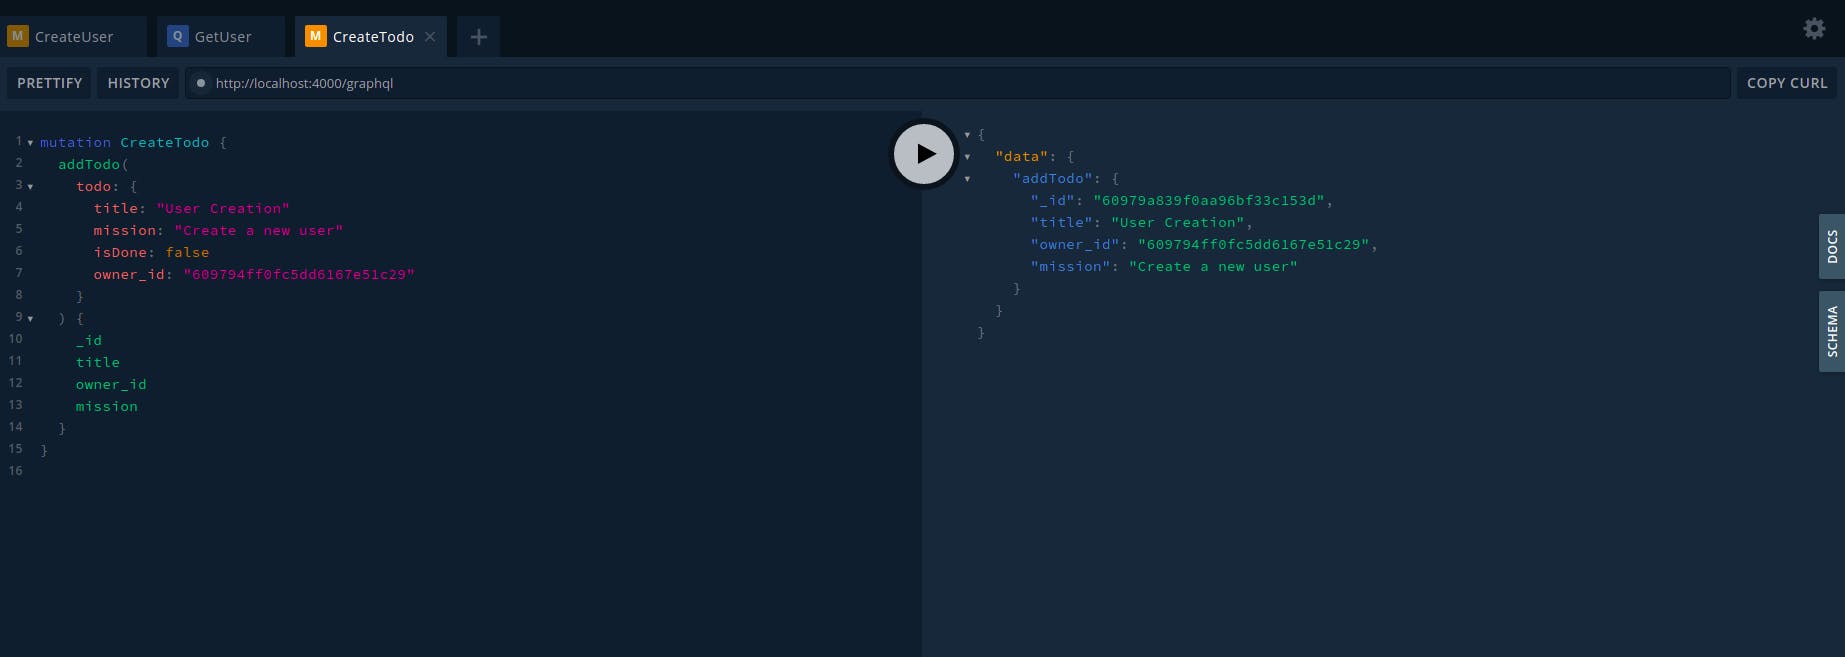
- In your case, you will most probably have to change the owner_id.
That's it. We just added a new to-do item and signed it with our users' id. Let's change our mutation, so return to-do items according to the given username and password. To make this happen, let's open the schema/models/index.js and add this function to the queries object like this:
getUserNotes: (id) =>
  new Promise(
    async (resolve, reject) =>
      await Todo.find({ owner_id: id }, (err, notes) =>
        err ? reject(err) : resolve(notes)
    )
  ),
And add these lines into the Query object in the schema/resolvers/index.js file:
getUserNotes: async (parent, args, context) =>
  await context.models.Todo.queries.getUserNotes(
    JSON.parse(JSON.stringify(args.owner_id))
  ),
And add these lines into the Query type definition in the schema/typeDefs/index.js:
getUserNotes(owner_id: ID!): [Todo]
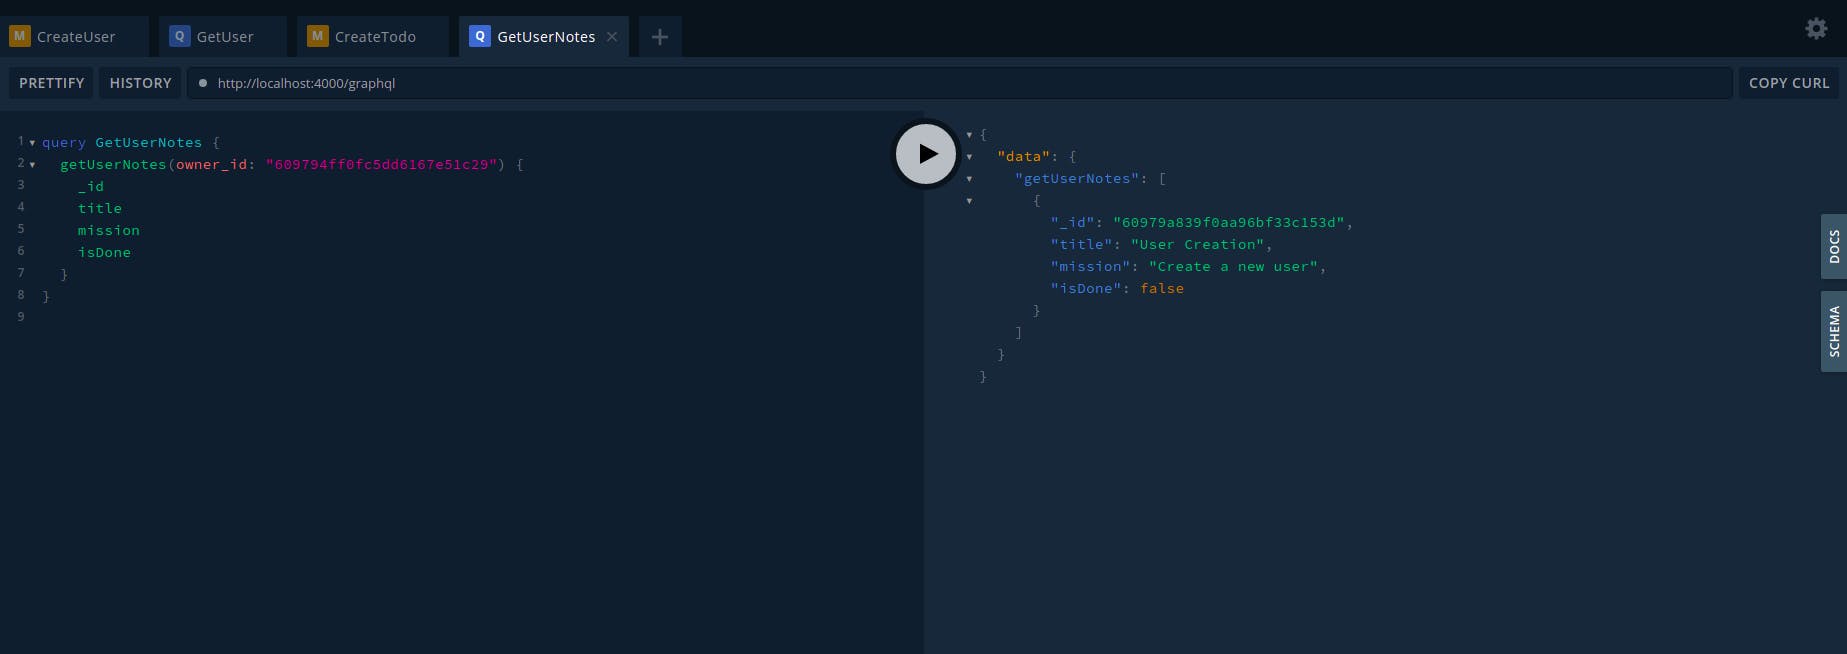
And run test query:
 If everything is working fine, let's go to the next chapter: make login authentication required.
Making Login Authentication Required In Apollo Server
To make login authentication required, open the server.js and change the context object like that:
context: ({ req }) => {
  const username = req?.headers?.username;
  const password = req?.headers?.password;

  const user = await validateUser({ username, password })
    .then((result) => result)
    .catch((err) => console.log(err));

  return {
    user,
    models: {
      user,
      Todo: generateTodoModel(user),
    },
  };
},
Create a directory named controllers and create a file in it named validateUser.js. Open the validateUser.js and write these lines into it:
import User from "../db/models/UserModel";

const validateUser = (user) =>

  new Promise(
    async (resolve, reject) =>
      await User.findOne({ ...user }, (err, user) =>
        err
        ? reject(err)
        : user === null
        ? reject(new Error("User not found"))
        : resolve(user)
    )
  );

export default validateUser;
Now, open the schema/resolvers/index.js and change the getUserNotes function like that:
getUserNotes: async (parent, args, context) =>
  await context.models.Todo.queries.getUserNotes()
Then open up the schema/models/index.js file and add a user parameter to the generateTodoModel function:
const generateTodoModel = ({user}) => ({
And change the getUserNotes in the queries object, like that:
getUserNotes: () =>
  !user
    ? null
      : new Promise(
        async (resolve, reject) =>
          await Todo.find({ owner_id: user._id }, (err, notes) =>
            err ? reject(err) : resolve(notes)
          )
        ),
Open the schema/typeDefs/index.js and change the getUserNotes query definition like in the below:
getUserNotes: [Todo]
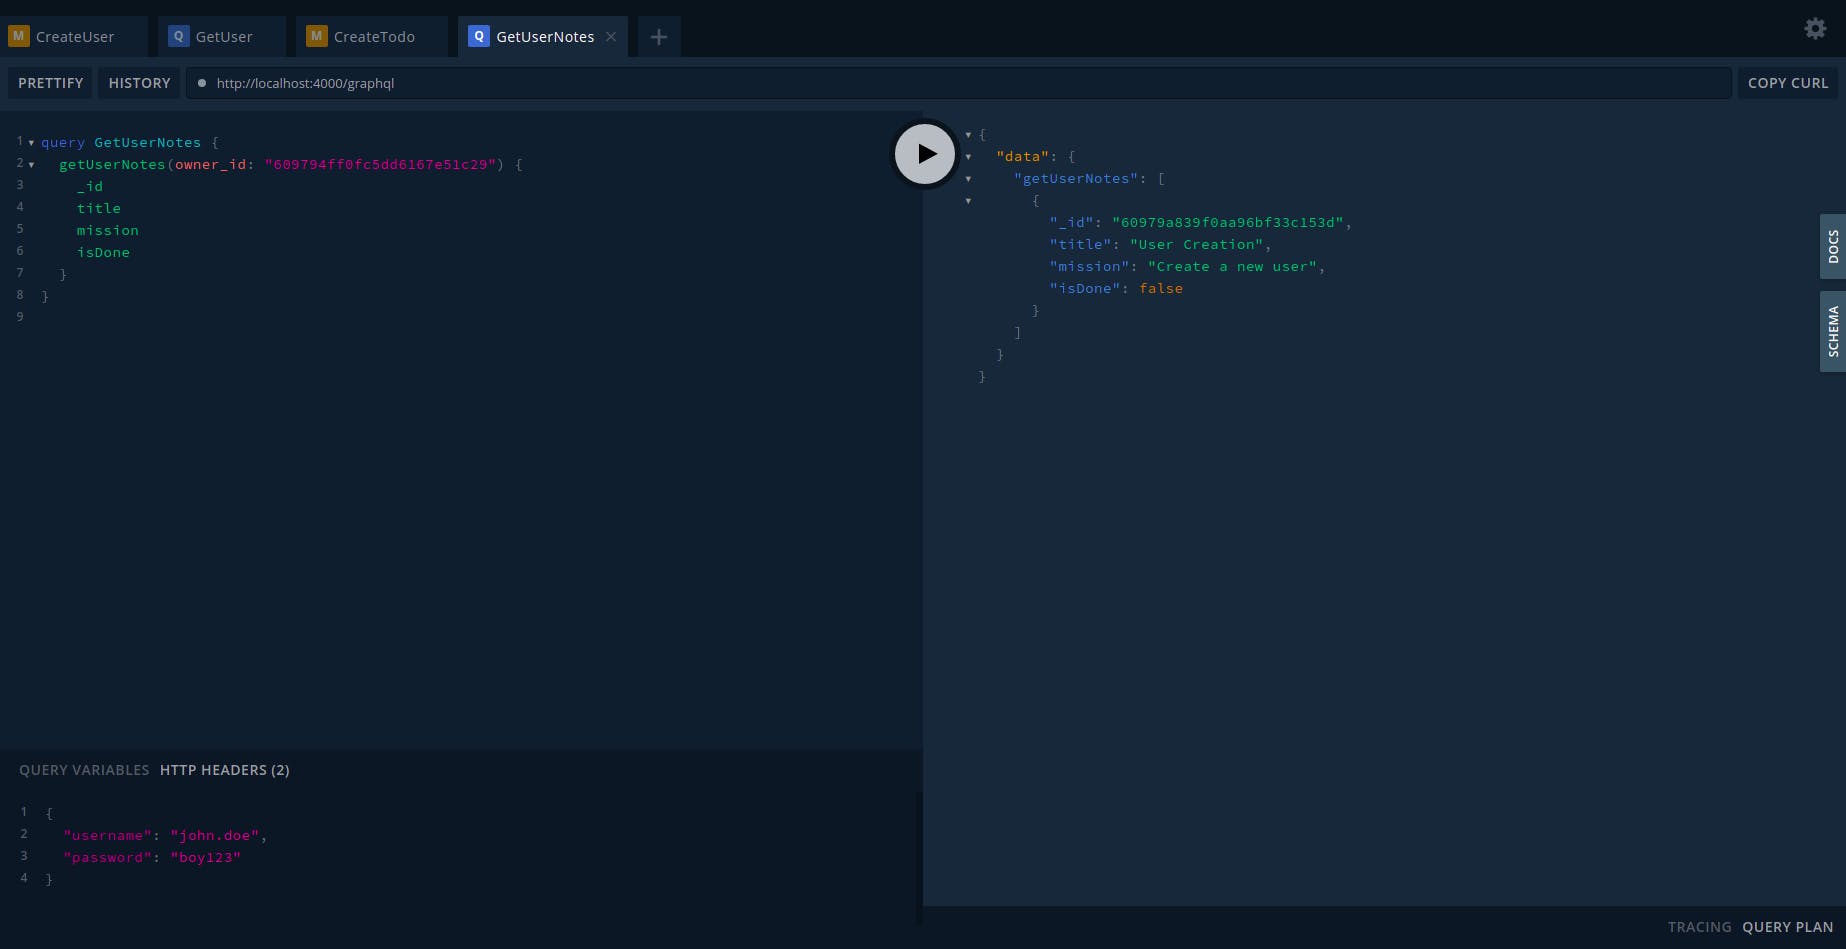
Let's open localhost:4000/graphql. Click the tab where the GetUserNotes query in, then click the HTTP HEADERS tab below the page and write these lines:
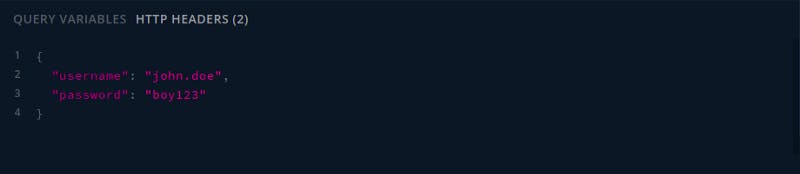
Then run the query! If your screen is like this, then congrats, you have just added user authentication and authorization:
To sign the newly added to-do item automatically with the currently logged-in users' id, change the addUser mutation like below. In the schema/models/index.js change it like that:
addTodo: (todo) =>
  !user
    ? null
      : new Promise((resolve, reject) =>
        new Todo(
          Object.assign({}, { ...todo }, { owner_id: user._id })
        ).save((err, todo) => (err ? reject(err) : resolve(todo)))
      ),
…and in the schema/resolvers/index.js change it like that:
addUser: async (parent, args, context) =>
  await context.models.Todo.mutations.addUser(
    JSON.parse(JSON.stringify(args.user))
  ),
Finally, change the input definition in the schema/typeDefs/index.js like that:
input TodoInput {
  title: String
  mission: String
  isDone: Boolean
}
Conclusion
User authentication and authorization are core concepts for nearly every application. I tried to explain how these concepts can be implied to an Apollo Server. For checkout other further configurations, you can clone the repo. We are going to create an Apollo Client with React in the next episode. Thank you for your interest.